How to Turn Property Photos Into Video in Under Five Minutes
A step-by-step tutorial for turning property photos into cinematic video in under five minutes with AI — photo selection, motion styles, formats, and common mistakes to avoid.
By The ImageMotion AI Team · 7 May 2026
Quick answer
To turn property photos into video in under five minutes: upload your sharpest high-resolution listing photos to an AI image-to-video tool such as ImageMotion AI, choose a motion style for each image (push-in, pan or parallax), generate the clips, then download them in portrait, square and landscape for social media, portals and email. No filming or editing software is needed.
Key takeaways
- AI image-to-video generates realistic camera motion from a single still photo — no filming required.
- The whole workflow, from upload to downloaded clips, takes under five minutes per listing.
- Photo choice drives quality: sharp, well-lit, high-resolution images with clear depth animate best.
- Match the motion to the room — push-ins for kitchens, gentle drift for gardens, parallax for exteriors.
- Export all three aspect ratios in one pass so every platform is covered from a single generation.
The gap between "we should do video for this listing" and actually having video used to be measured in weeks and hundreds of pounds. With AI image-to-video it is measured in minutes and pennies — and the workflow is simple enough to run while the kettle boils.
This tutorial walks through the entire process of turning listing photos into cinematic video with ImageMotion AI, including how the technology works, which photos to choose, which motion styles suit which rooms, and the mistakes that separate premium-looking results from obvious ones.
How AI image-to-video actually works
Understanding the mechanism for thirty seconds makes you better at using it.
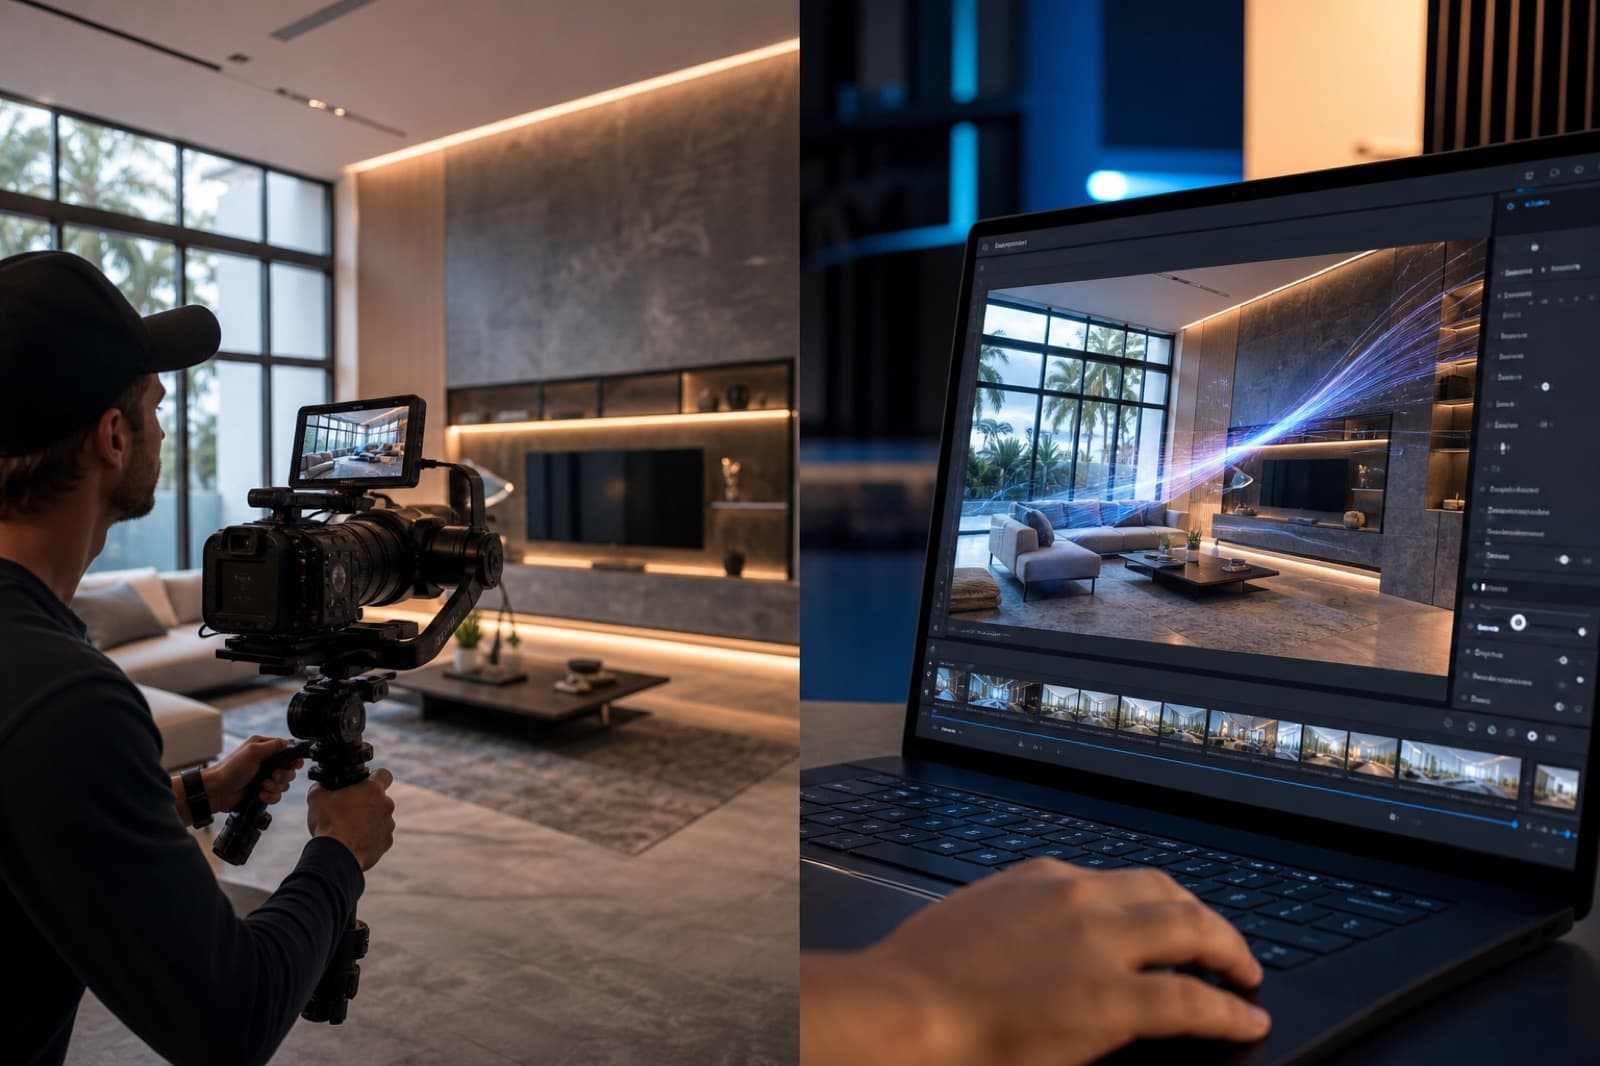
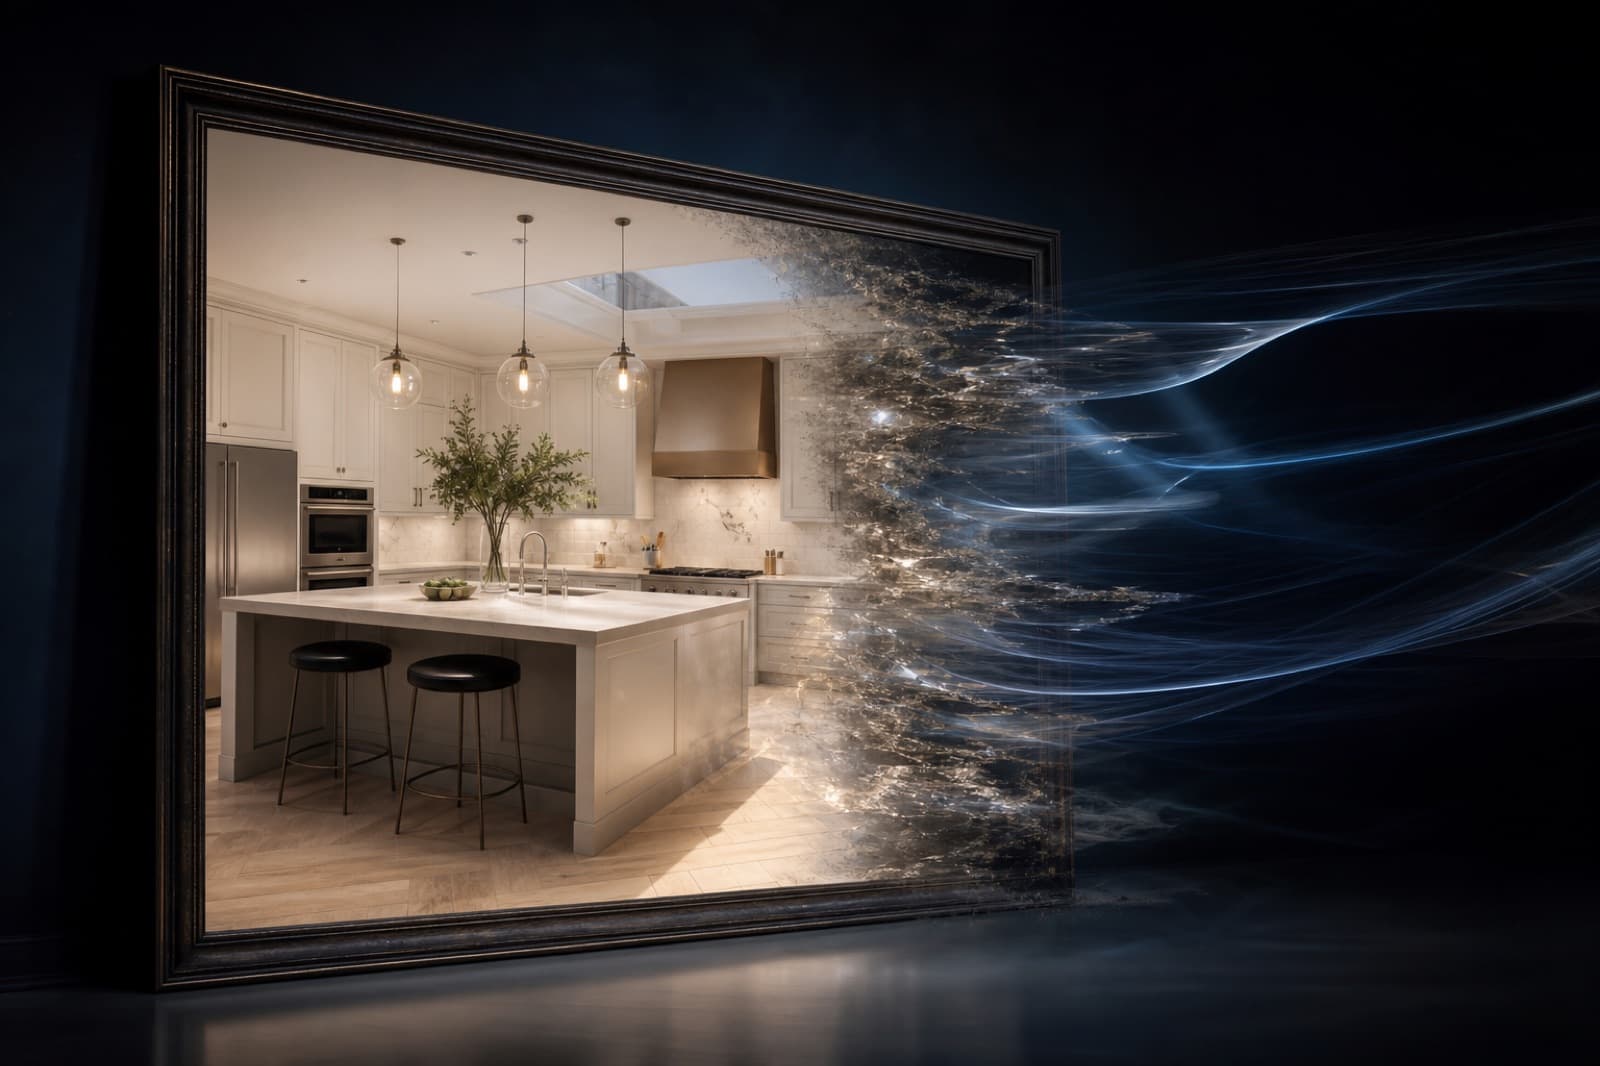
When you upload a photograph, the AI model estimates the three-dimensional structure of the scene — which surfaces are near, which are far, where the walls, worktops and window reveals sit in space. It then synthesises new frames as if a camera were physically moving through that space: pushing slowly towards the window, drifting laterally past the kitchen island, panning across the facade with realistic parallax between foreground and background.
That is what separates it from the "Ken Burns" zoom in slideshow tools, which simply enlarges a flat image. A depth-aware clip has foreground and background moving at different rates, exactly as real footage does — which is why viewers read it as video rather than an animated photo. For a deeper primer, see our guide to what AI image to video is.
What you need before you start
- Your listing photos — the full-resolution originals from your photographer if possible, not versions already compressed by a portal or email.
- A browser — ImageMotion AI runs entirely online; there is nothing to install and no editing software involved.
- Credits — generation is pay-as-you-go, so you only pay for the clips you create.
That is the whole list. No gimbal, no drone licence, no editing suite.
The five-minute workflow
Step 1: Choose your photos (about a minute)
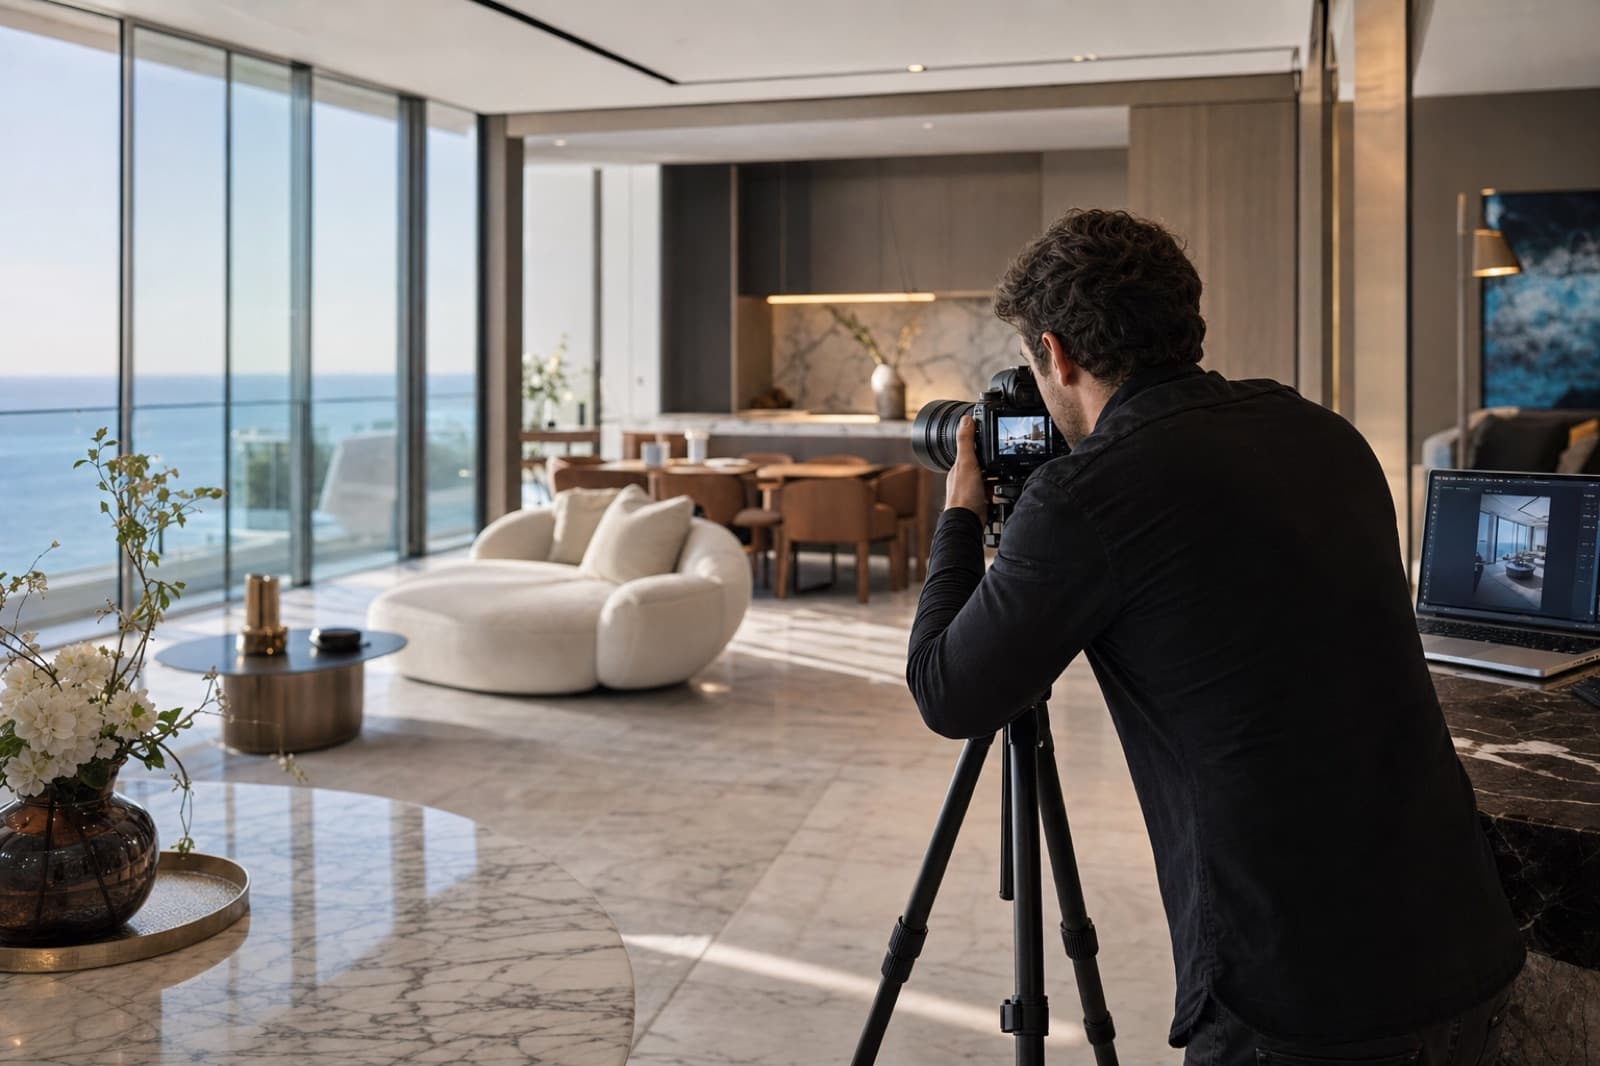
For a standard listing, pick six to eight images that tell the property's story:
| Shot | Why it earns a clip | |---|---| | Front exterior | The scroll-stopper and thumbnail | | Kitchen | The most-scrutinised room in the house | | Living room | Space, light and lifestyle | | Main bedroom | Second most-searched interior | | Bathroom | Condition signal | | Garden or view | The emotional close |
Prioritise images that are sharp, well lit and have visible depth — a hallway receding towards a window animates far more convincingly than a flat, straight-on wall. If a photo would not make the brochure, it will not make a good video either.
Step 2: Upload (under a minute)
Go to imagemotion.rehub.studio, sign in and upload your selected images. The tool accepts standard JPG and PNG files and handles the aspect-ratio preparation automatically — you do not need to crop or resize anything first.
Step 3: Choose a motion style per image (about a minute)
This is where taste matters. A useful rule: the motion should feel like a steadicam operator who respects the property. Subtle reads as premium; aggressive reads as gimmicky.
- Push-in — slow forward movement. Ideal for kitchens, living rooms and any shot with a natural focal point like a window or fireplace.
- Pull-back — reveals space. Works for open-plan areas and impressive entrances.
- Lateral drift / pan — sideways glide. Suits gardens, exteriors and wide rooms.
- Parallax — emphasises depth between foreground and background. Excellent for facades framed by a gate, hedge or driveway.
Match energy to market too: a family semi suits gentle, warm movement; a penthouse can carry slower, more dramatic motion. Our article on AI video ideas for luxury property marketing covers the premium end in detail.
Step 4: Generate and review (about two minutes)
Generation takes seconds per clip. Review each one and ask two questions: does the motion look physically believable, and does it draw the eye to the room's best feature? If a clip is not right, regenerate with a different style — iteration costs seconds, which is the luxury filmed video never offers.
Step 5: Download in every format (under a minute)
Export portrait 9:16, square 1:1 and landscape 16:9 versions. One generation covers:
- Portrait — Instagram Reels and Stories, Facebook Reels, TikTok
- Square — feed posts, some ad placements
- Landscape — your website, YouTube, email campaigns, digital brochures
That is the whole process. From opening the browser to holding a full multi-format video set: under five minutes.
What to do with the clips
The fastest wins, roughly in order of impact:
- Launch-day Reel — post the best portrait clip the day the listing goes live. Video posts reach materially more people than photos; Meta has said video is about half of all time spent on its platforms.
- Listing page and portals — add the landscape cut to your website listing and link it from Rightmove and Zoopla.
- Email campaigns — a moving preview in applicant mailouts lifts click-through.
- Vendor updates — send the clips to your vendor; they share them, and the marketing impresses the neighbours who might list next.
- Paid social — the same clips become ad creative; see how AI property videos improve Facebook and Instagram advertising.
For the full posting strategy across platforms, the complete guide to social media videos for estate agents picks up where this tutorial ends.
Common mistakes (and easy fixes)
- Starting from compressed images. Portal downloads and WhatsApp forwards have been squeezed hard. Always go back to the original files — resolution in, quality out.
- Over-animating. If the motion is the first thing you notice, it is too much. Choose the subtler style; premium property marketing whispers.
- Animating weak photos. Motion amplifies a photo's qualities, good and bad. A dark, tilted photo becomes a dark, tilted video. Fix the photography first — our companion piece on property photography tips for better AI videos covers exactly what to shoot.
- Generating one format only. A landscape-only clip posted to Reels gets letterboxed into irrelevance. Export all three ratios every time; it costs nothing extra in effort.
- Stopping at one clip. A single hero clip is good; a six-clip set covering the whole property gives you a week of content and a mini-tour for the listing page.
Why this beats the alternatives
| Approach | Cost per listing | Time to delivery | Scales to all stock? | |---|---|---|---| | Videographer shoot | £300–£1,500 | Days to weeks | Rarely | | DIY phone walkthrough | Free but time-hungry | Hours (with editing) | Inconsistent | | Slideshow tools | Low | Fast | Yes, but looks flat | | AI image-to-video | A few pounds | Under 5 minutes | Yes |
The full commercial comparison against filming — including where a videographer is still the right call — is in AI property videos vs traditional videography: which delivers better ROI?
Levelling up: from clips to a listing film
Once the five-minute workflow is habit, two extensions add value without adding much time.
Sequence clips into a mini-tour. Arrange your clips in viewing order — exterior, hallway, living space, kitchen, bedrooms, garden — and join them in any simple editor (or the scheduling tool many agents already use). A 40–60 second tour built from six clips gives the listing page and YouTube a hero asset, while the individual clips continue working as social posts. The same set, two products.
Match motion across the set. When clips will be watched back to back, consistency matters: similar pacing, complementary directions of travel (avoid two consecutive leftward drifts), and an opening and closing clip with slightly more presence — the twilight exterior at the start, the garden at the end. It is the difference between a playlist and a film, and it costs only a moment's thought at the style-selection step.
For teams, the natural division of labour: whoever handles listing administration generates the standard set at launch, and whoever runs social pulls from the shared clip library. No bottleneck, no waiting on a marketing department — the workflow scales from a single self-employed agent to a multi-branch operation without changing shape.
Troubleshooting: when a clip isn't right
Most first-time issues resolve with one of these adjustments:
| Symptom | Likely cause | Fix | |---|---|---| | Motion looks flat or "slidey" | Photo lacks depth cues | Use a corner shot or one with foreground interest | | Warping at frame edges | Ultra-wide source photo | Re-shoot or crop to a ~16–24mm equivalent field | | Soft, mushy detail | Compressed or low-res source | Go back to the original full-size file | | Motion feels aggressive | Style too strong for the room | Choose the subtler style; slow reads as premium | | Important feature drifts out of frame | Composition too tight | Use a slightly wider photo of the same view |
The deeper principle behind all five rows: the AI amplifies its input. Ten seconds spent choosing a better source photo beats any amount of regeneration — and shooting with animation in mind, covered in our photography tips for better AI videos, eliminates most issues before they occur.
Frequently overlooked opportunities
Beyond the standard listing workflow, three photo sources hide in most agencies' archives, each five minutes from becoming content:
- Sold stock. Your best historic photography can become just-sold proof content and valuation showreel material — the past portfolio is a marketing library, not an archive. The instruction-winning uses are catalogued in 15 ways estate agents win instructions with AI video.
- Twilight and seasonal shots. Any dusk exterior or snow-dusted facade in the archive makes premium brand content between listings — the feed-filler that looks anything but.
- Development CGIs. For anyone marketing new homes, renders animate exactly like photographs, which unlocks video before construction starts — the full workflow is in our new homes video marketing article.
The habit that makes it stick
The agents who get the most from this workflow share one trait: they attached it to an existing routine rather than treating it as a new project. Video generation happens in the same sitting as writing the listing description — photos arrive, description drafted, clips generated, everything published together. Five minutes inside a process that already exists survives busy weeks; a separate "do the videos" task does not. If you manage a team, make it explicit: the listing is not live until the video set is in the shared folder. Within a month it will feel as automatic as ordering the board — and unlike the board, it works on every channel you publish to.
Conclusion
Turning property photos into video is no longer a production project; it is a five-minute step in listing administration, like writing the description or ordering the board. The ingredients are photos you already own, a browser, and a few pounds of credits — and the output is a multi-format video set that works across portals, social media and email.
Try it on a live listing now: upload your photos to ImageMotion AI, generate your first clips, and compare the engagement yourself. The examples gallery shows what to aim for, and pricing shows how little it costs to find out.